Weathering Accurascale HUO Mineral Wagons

Another test post

Different Techniques and Experiments, Combined for unique effects

The Accurascale  HUO Mineral wagons are lovely wagons, but the prestine plastic begs to be  weathered.
I have now built up two rakes of 18 wagons each,  one is empty the other with coal loads.
Starting off with the “straight out of the box wagons” I have a number of ways to go about weathering these wagons, depending on mood and how grubby / rusty I want to make them.
I generally put a black brown  wash into the struts.  Typically i’ll use Acryllic paints, probably Vallejo, for this. Diluted with thinners, or water there’s a few minutes to manipulate the paint for overspills or blending. More than sufficient.
Everyone will have a different way of going about this, and probably in a different order. No two wagons were the same, so it’s not a problem to experiement. Most of my successful efforts were as a result of trying to recover from a disaster.
Working from a prototype picture I just slapped on paint in the general areas the rust or dirt appeared on the original. I’m not too concerned about copying exactly what I see. At this stage the wagon looks a mess. I have also  slapped on some dusty dirty paint on the chassis. Obviously I had some left over. Multiple layers or diluted colours made up of black,  burnt umber or lighter browns, even greys and cream add to the depth and variety of the final result, so it’s really rather difficult (but not impossible) to mess it up too badly. This will mostly come off anyway leaving a far more subtle result.
This is the same  wagon once the paint has been mostly taken off with thinners. I experimented with both enamel, oil and acrylic paints. I prefer enamels but my wife can’t tolerate the smell, so unless I can sit outside i’m  restricted to oil (I use Abteilung 502) or acryllics (Vallejo or Tamiya). Not time to stop yet though.
Here’s another example where I have let splodges of (in this case enamel) rust colour mid brown dry for a day, then lightly gone over it with some paint thinners taking some of it off. I let this dry for a day or two, varnish over it to protect it, then cover in a thin wash. Again, after half a day or so I get the flat brush out and take the wash off. Drying the brush off each time to get the excess paint off on a kitchen towel.
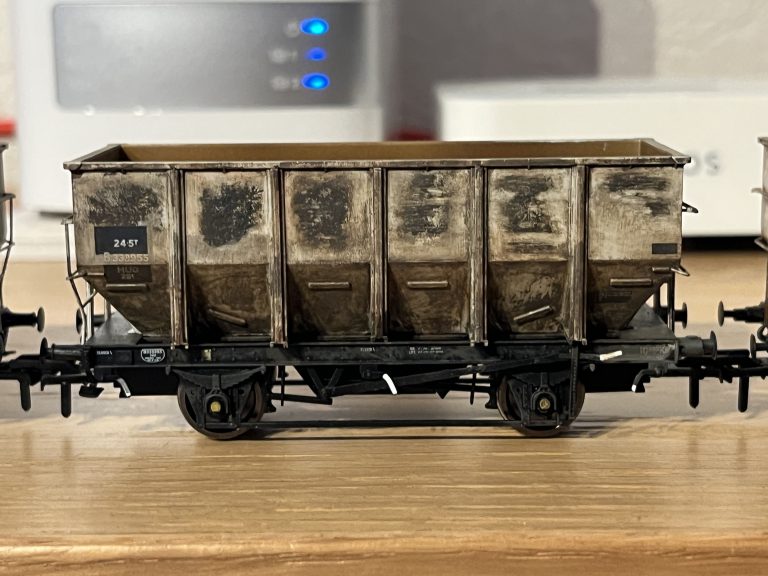
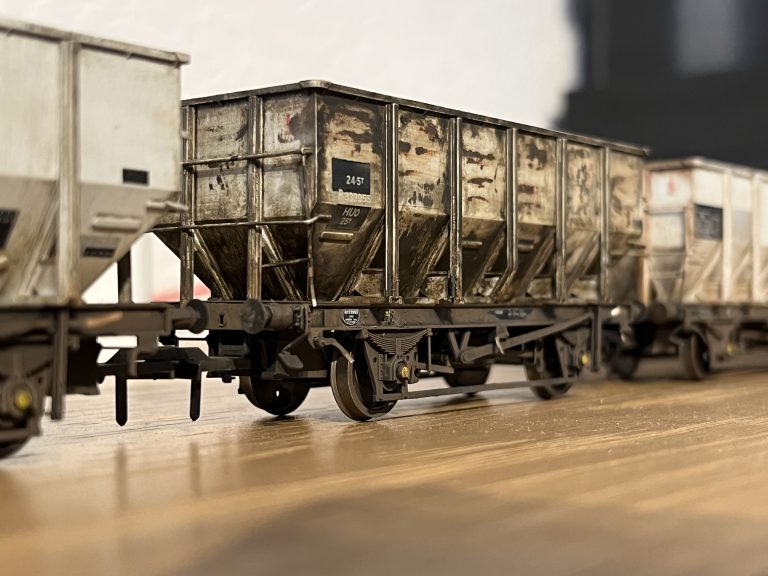
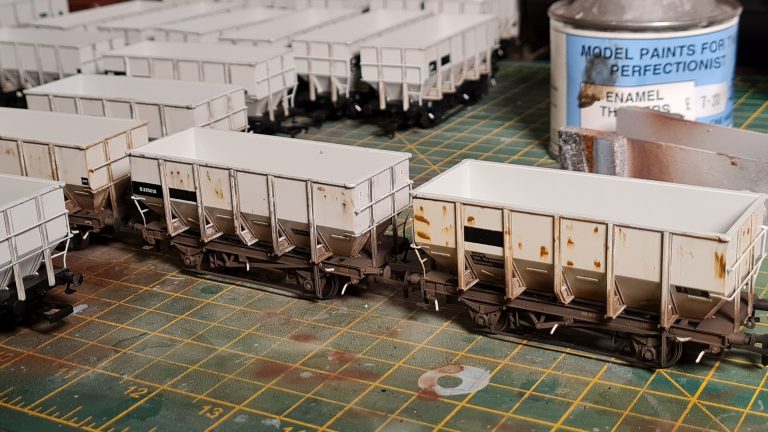
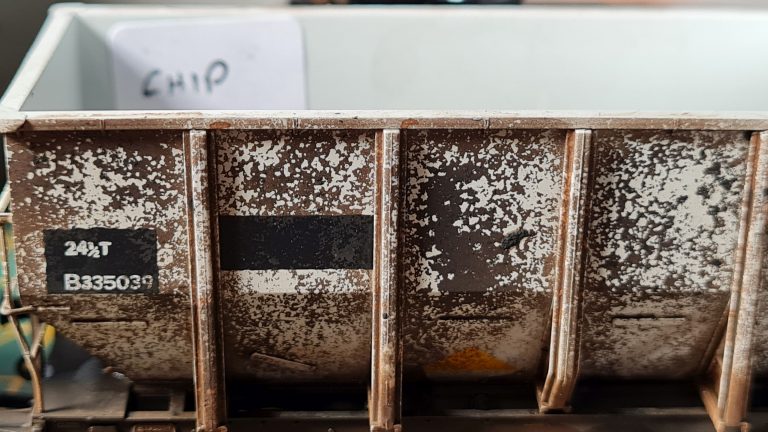
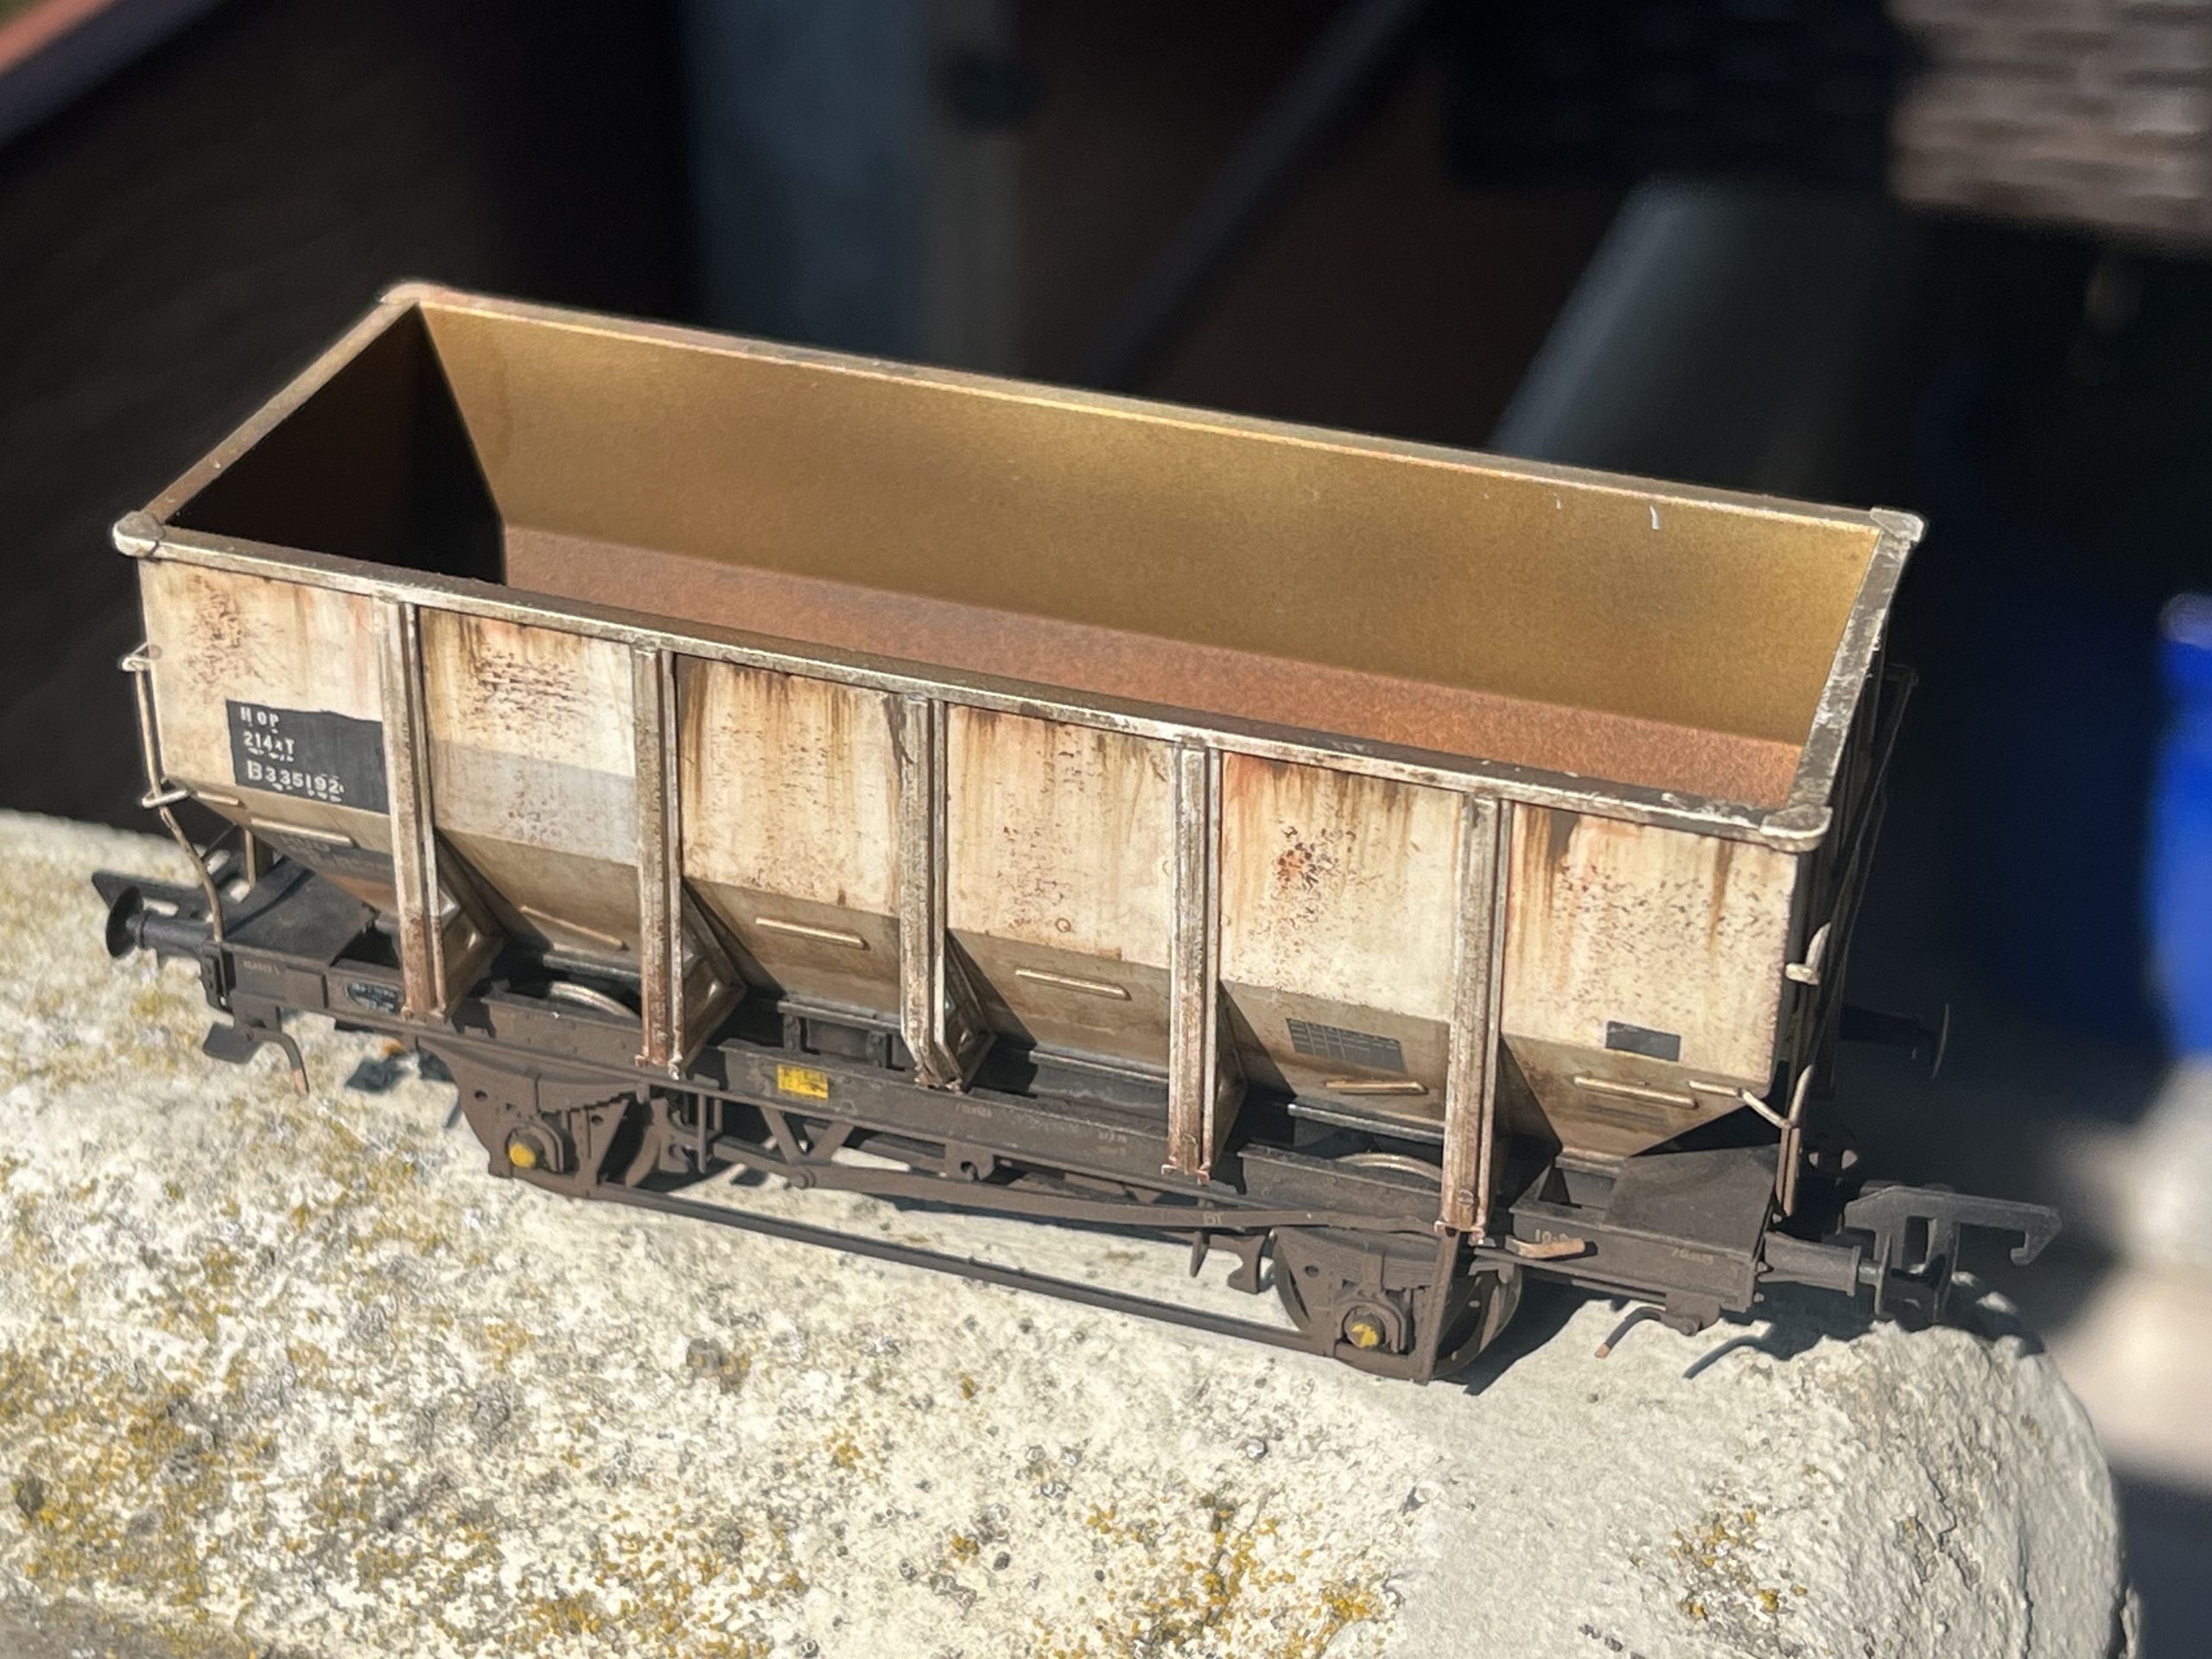
For less grotty wagons I start my adding little areas of rust – Humbrol “Matt Leather 062”.
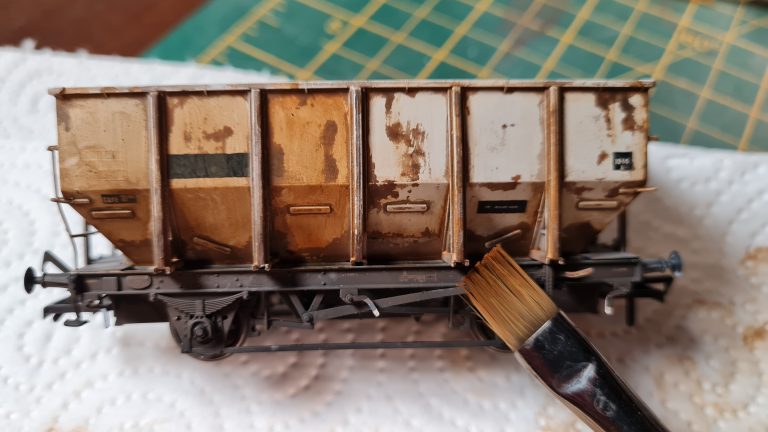
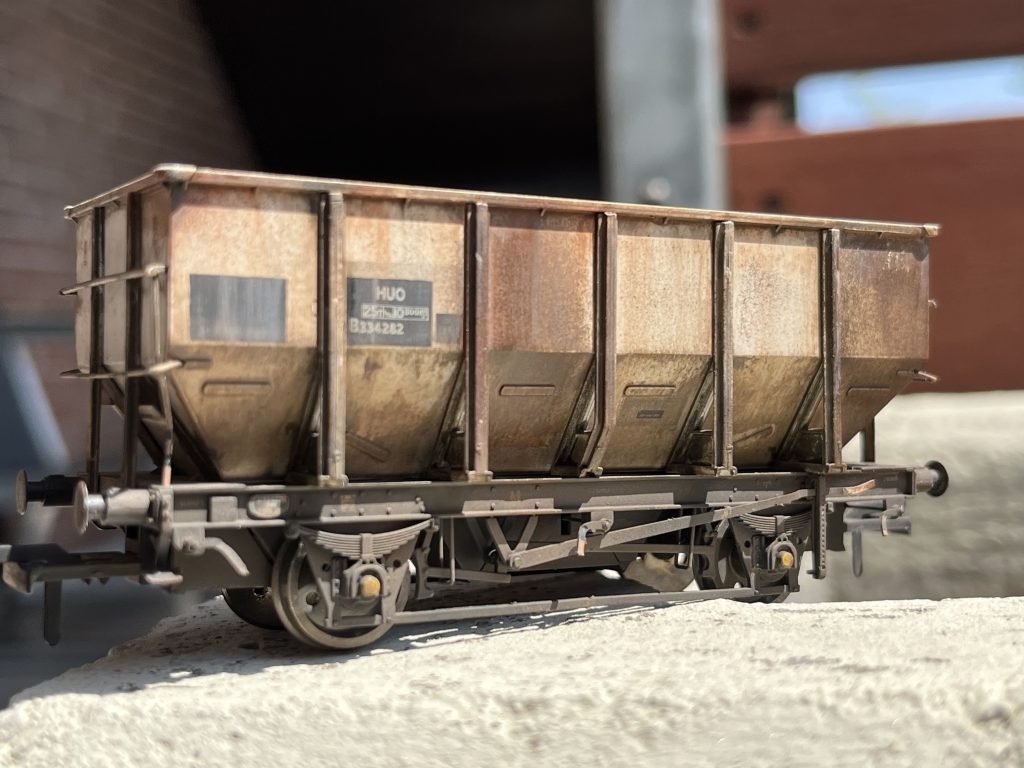
After a few hours I get a clean flat brush dipped in thinners, dry off on a kitchen towel, draw down lightly over the paints. If the paint doesn’t start to blend down straight away, keep repeating lightly until it does.
Main trick here is to know when to stop! I’ve ended up plenty of times taking all the paint off and then have to start again.
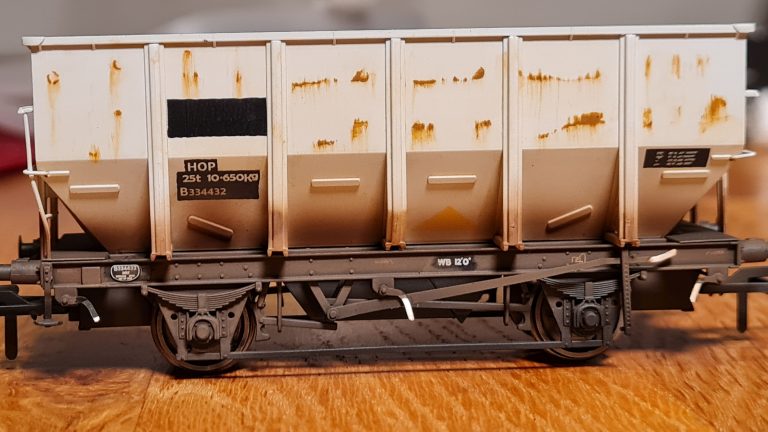
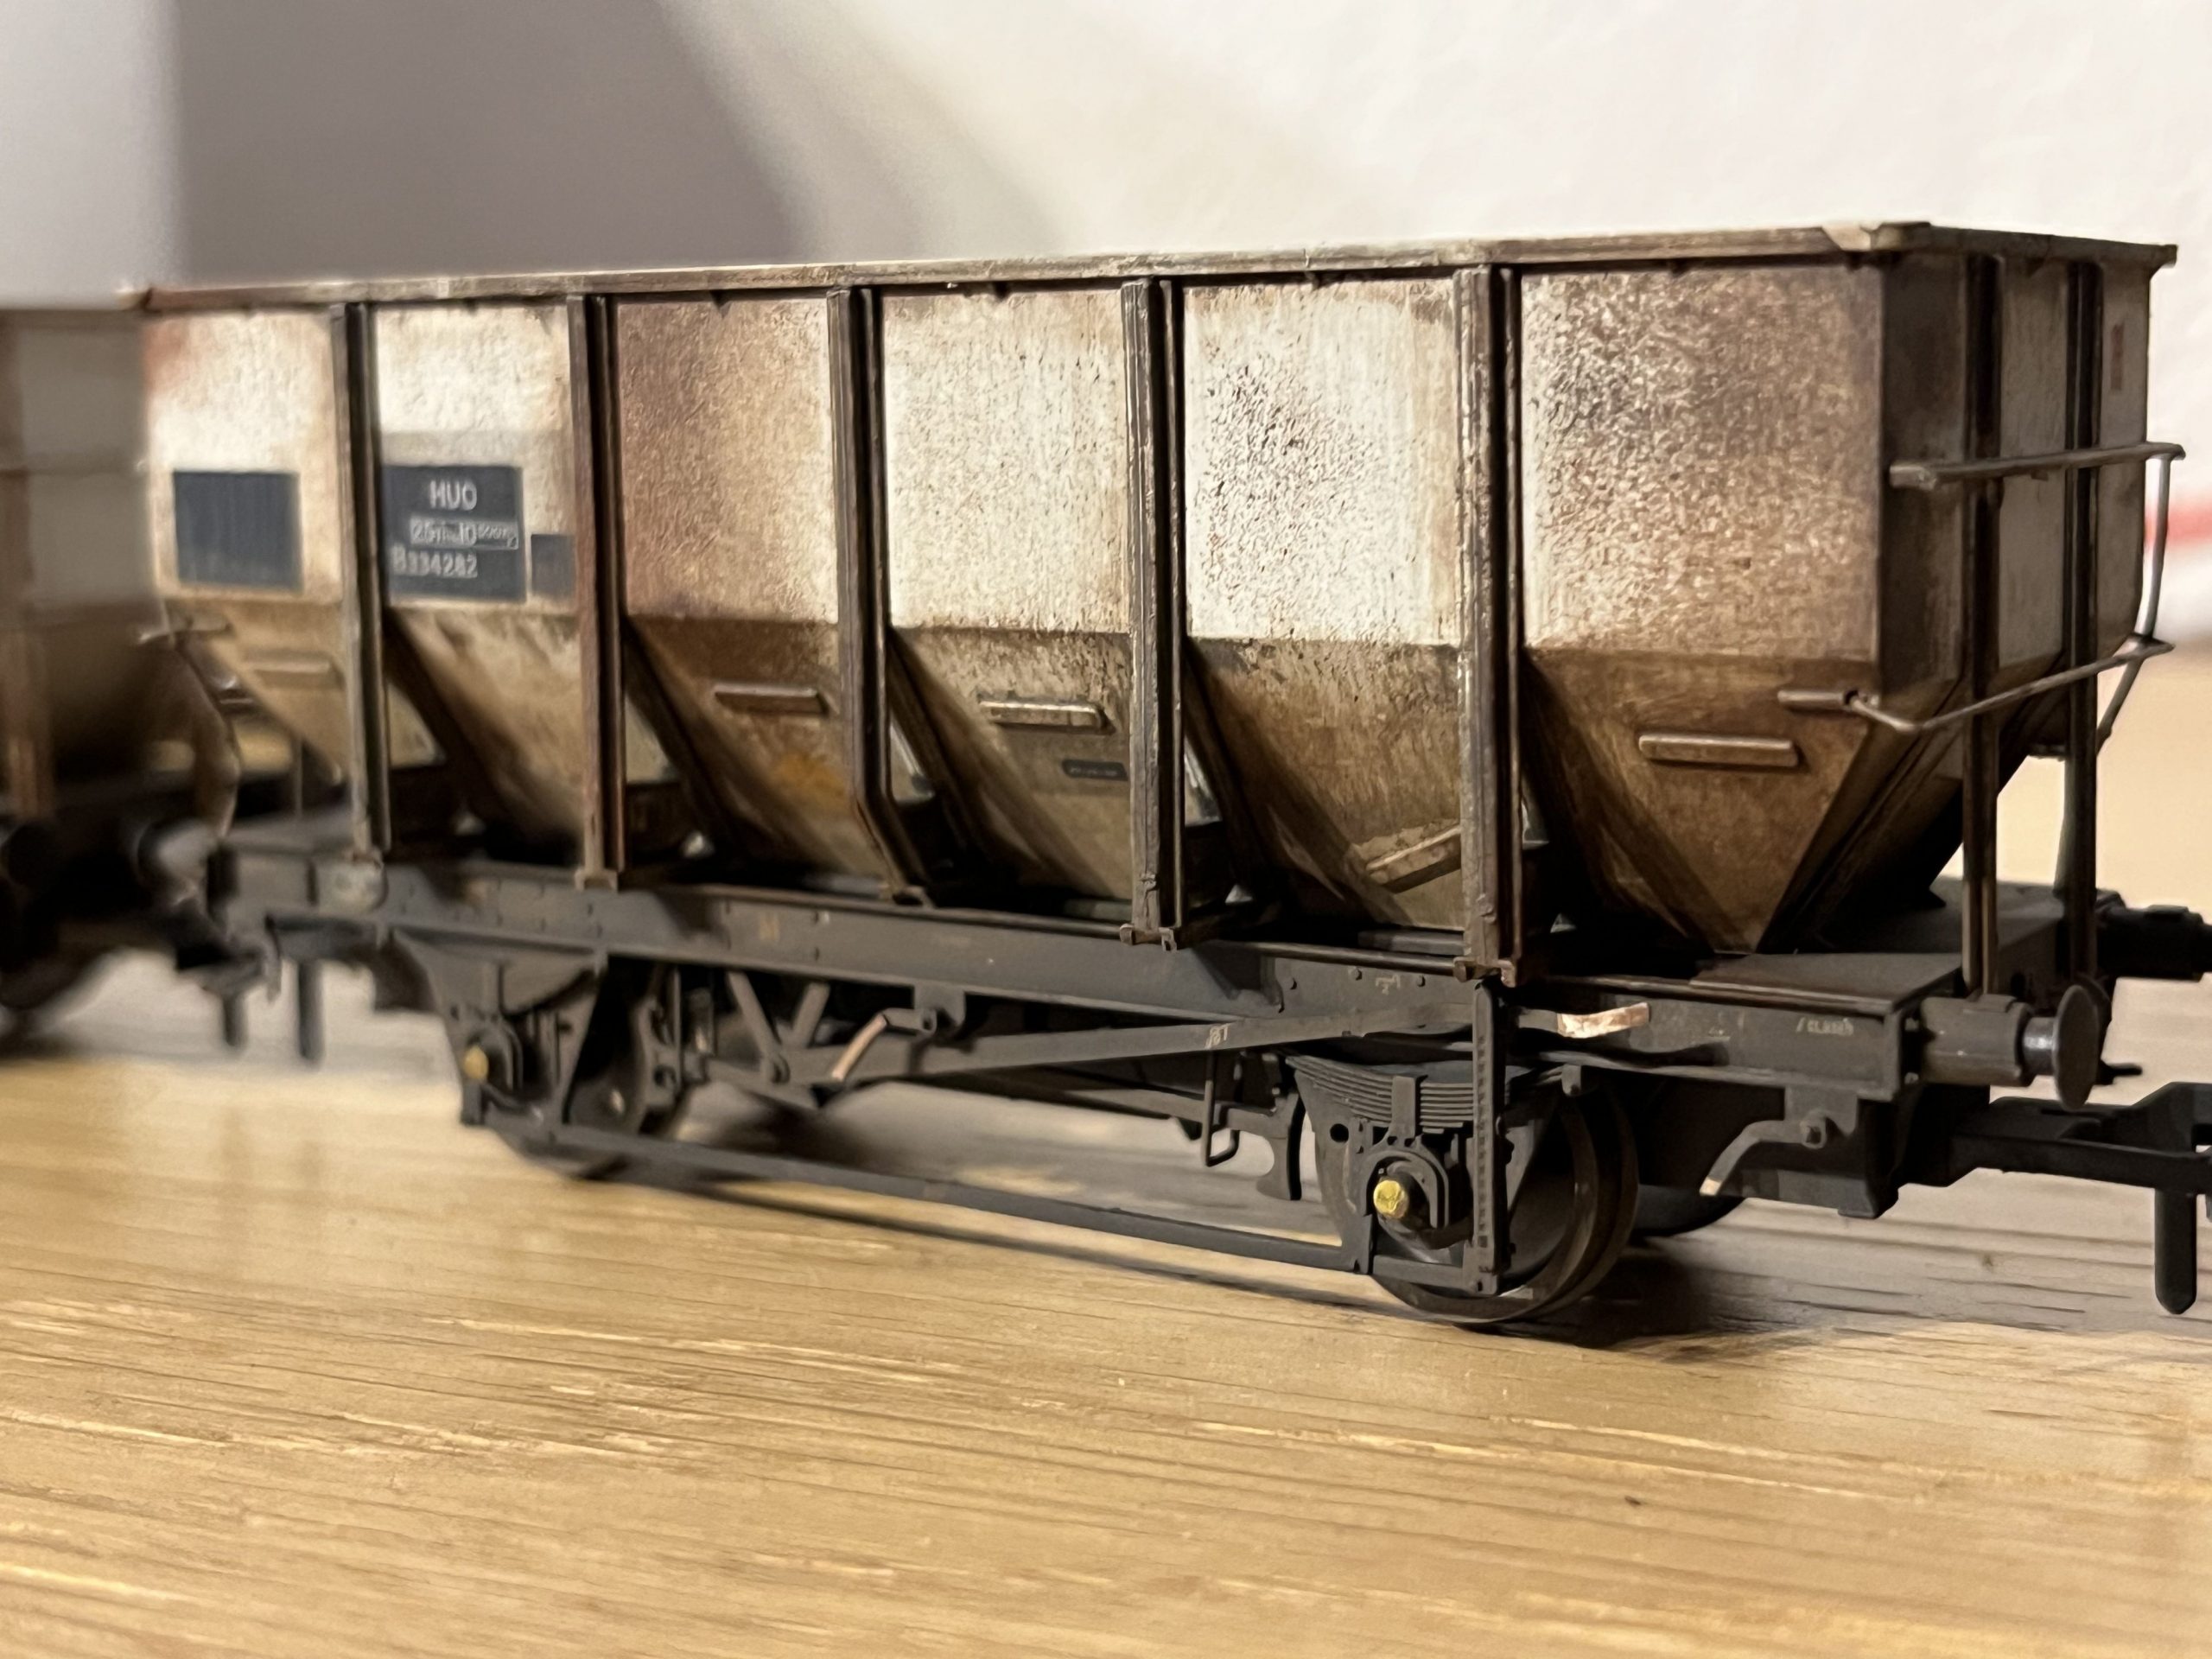
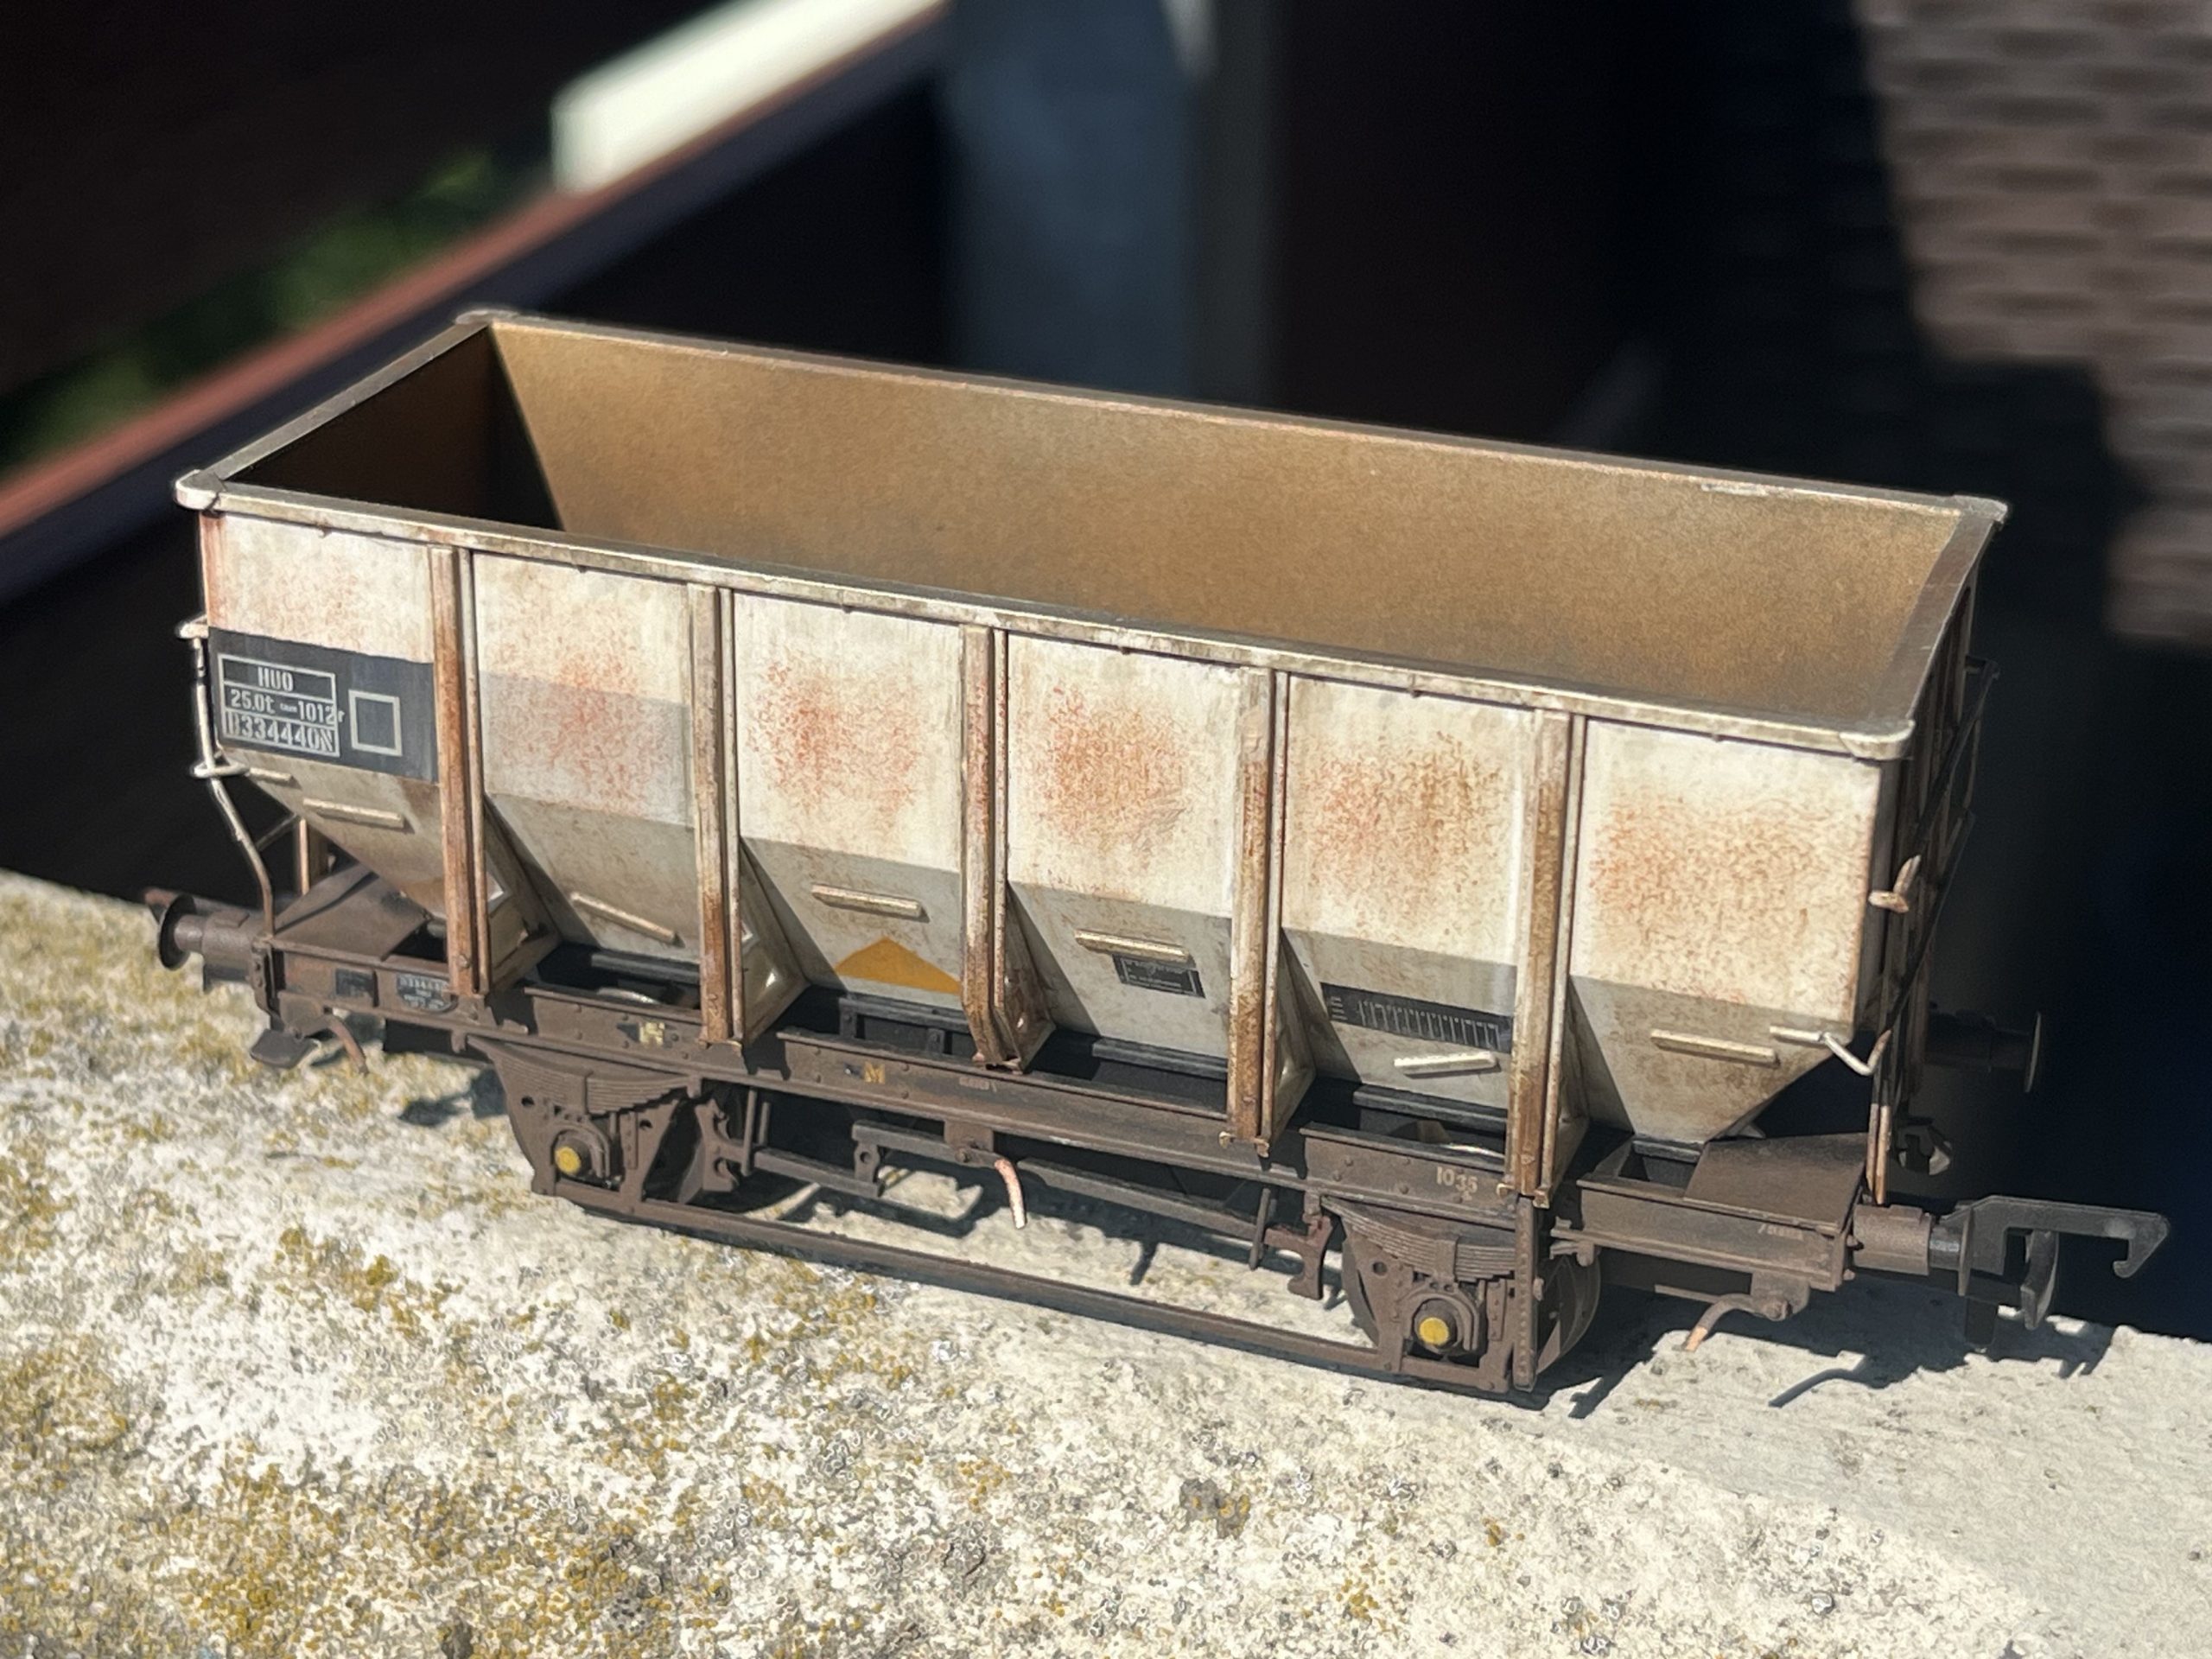
Let dry (24 hours at least) and varnish.
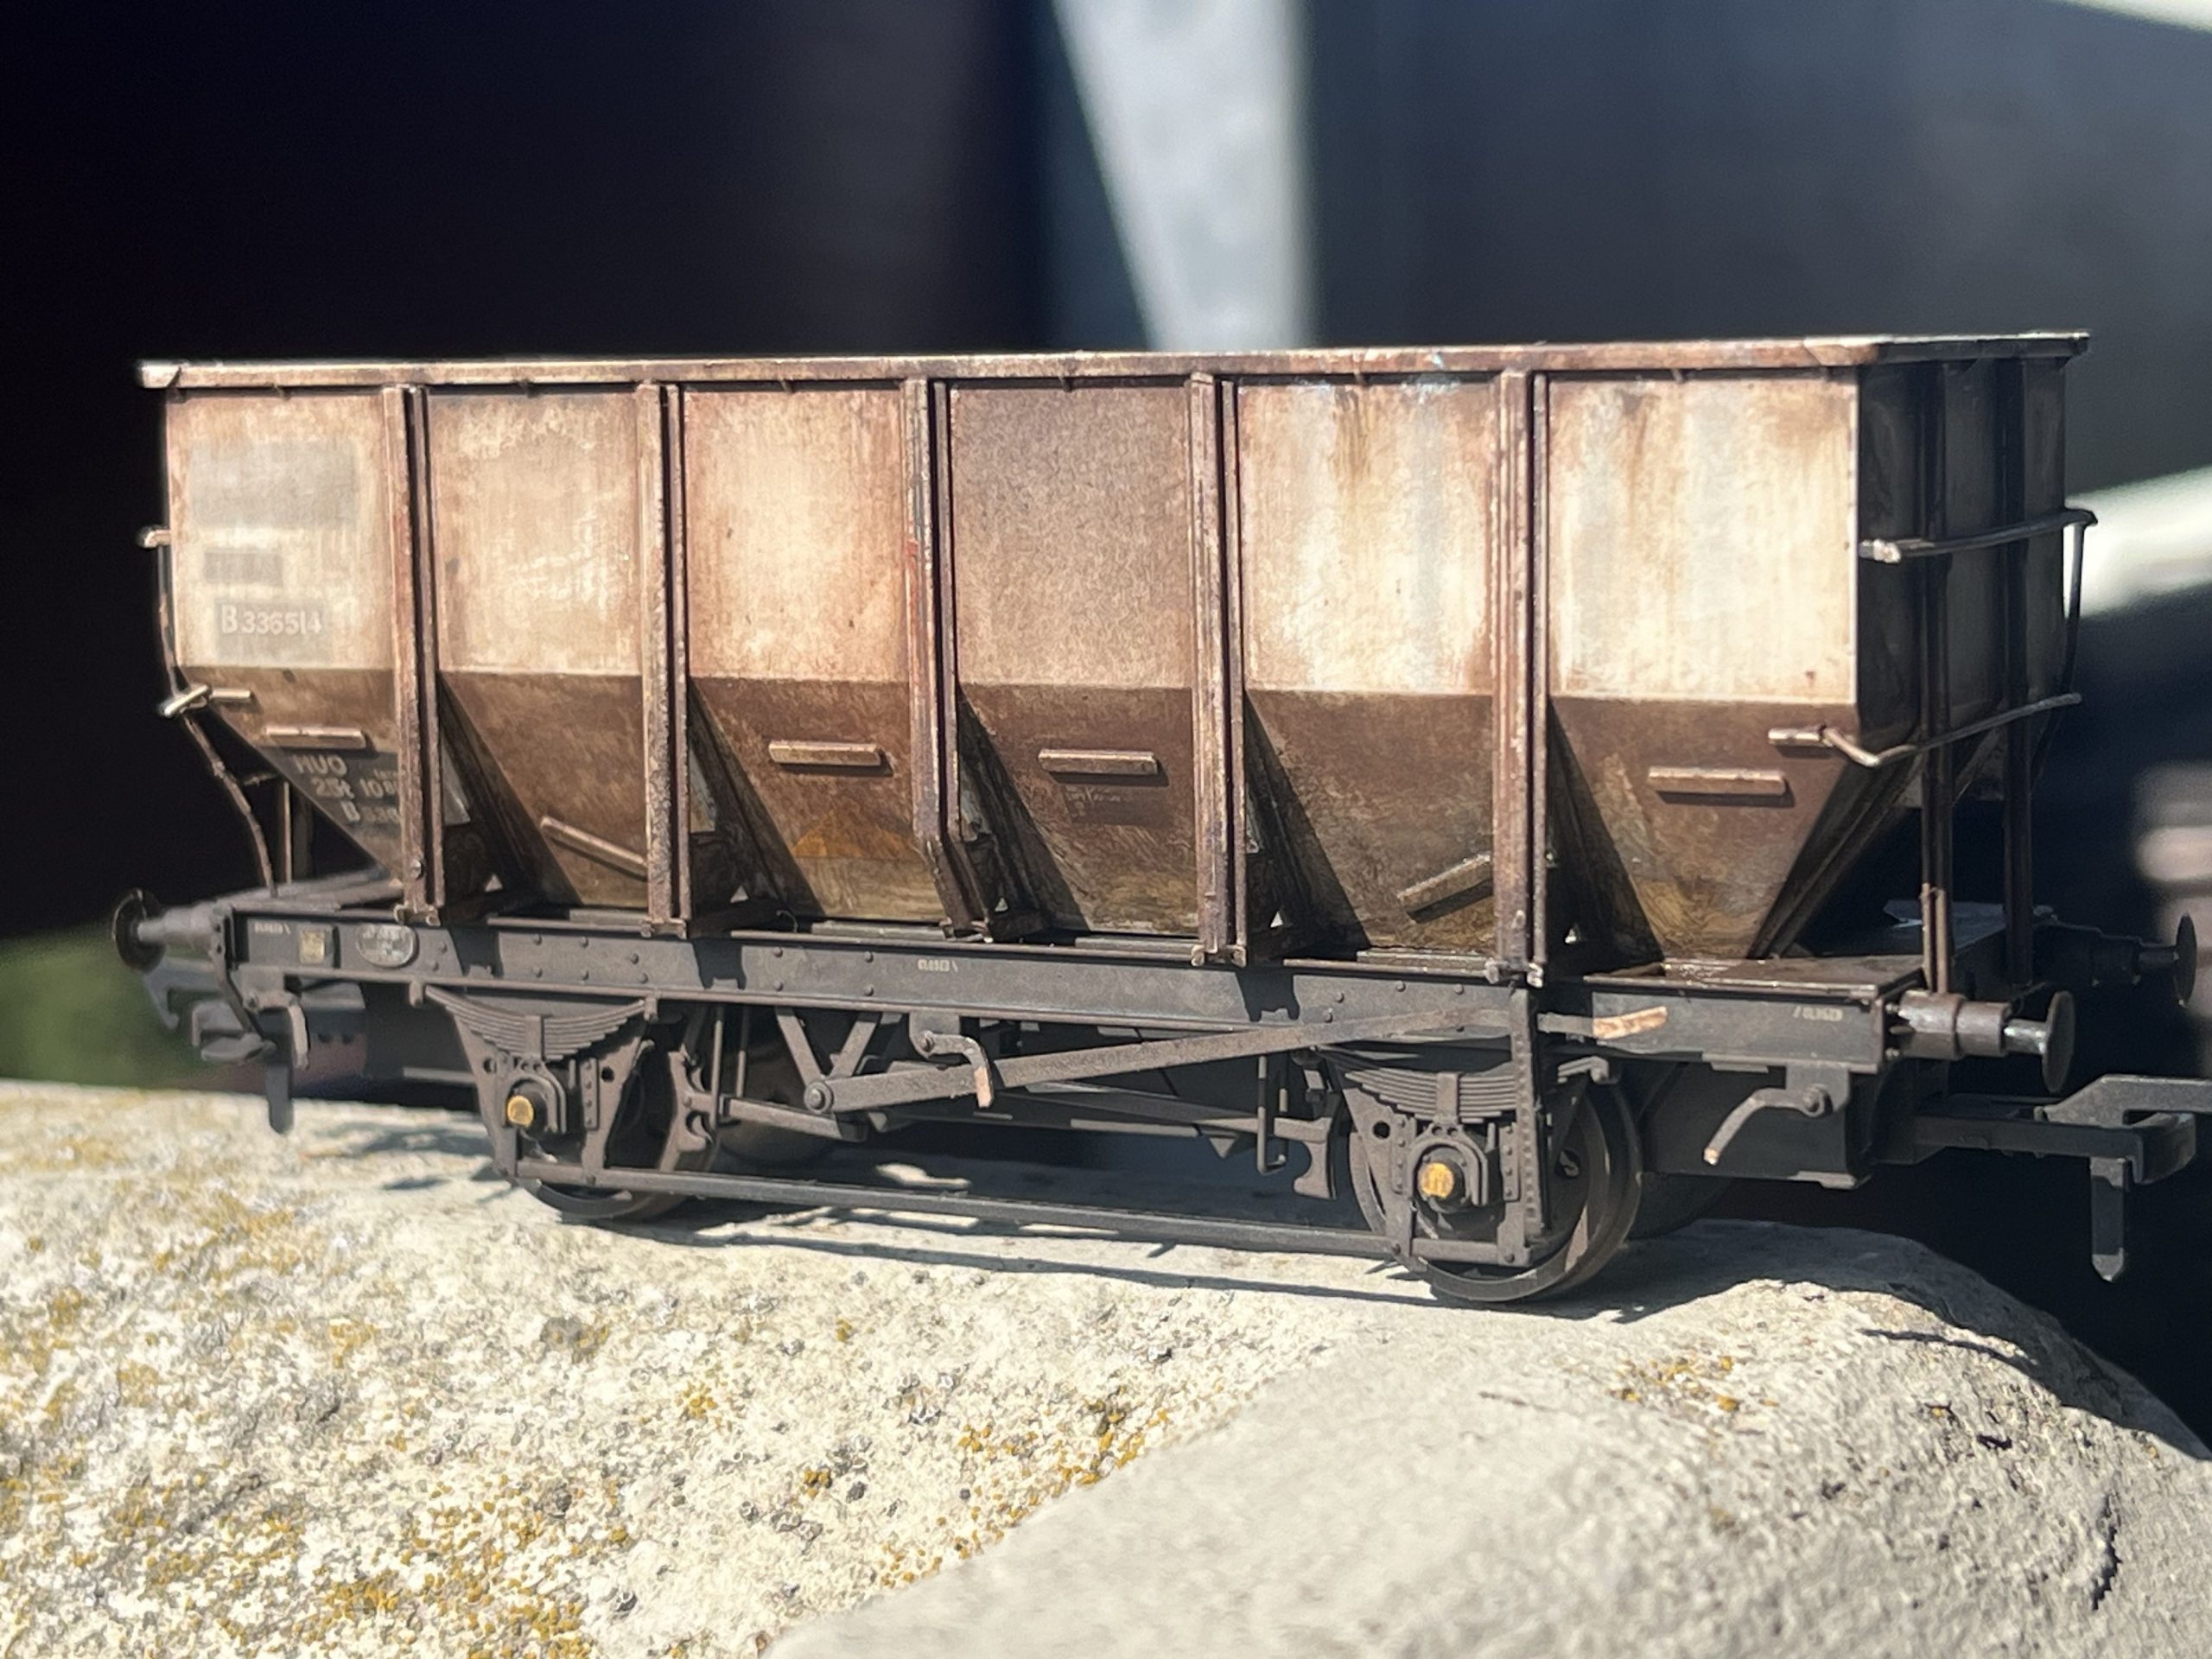
You can go a number of ways after this, For most of my first  rake I put a light wash of track dirt,  took most off with a flat brush, leaving slight downward streaks. Repeat with different shades to build up interesting colours in layers. Blend together with a light mist from the airbrush. Let dry and varnish between each layer!

Hairspray Technique or Chipping Medium

Another interesting technique to get some different but quite realistic results is chipping. You start with a layer of  rust (in this case a mixture of burnt umber and some lighter rusts to vary it). Then you put a layer of chipping medium. Thick cheap strong hairspray works well too. After 30 minutes or so paint over in the wagon colour (i.e. grey). Depending on the technique you usually dampen the top coat with water or maybe some thinners and stipple it very lightly with a firm stippling brush. This dislodges some of the top coat quite easily revealing this effect.
A similar but subtly different result can me had by masking the undercost with Maskol ( a liquid rubber “paint”) or even Rock salt of varying size.
I experimented with all four of these and  found the best results were from the Chipping solution. I used Vallejo acrylics and their own branded chipping solutions, but other brands offer similar options.

Finishing Touches

When you’re happy with the final results I find that often the contrast in the various colours is too high and they need to be blended down. I have usually sprayed a coat of track dirt from the airbrush or manually applied a very diluted dark wash with a flat brush however I recently tried a new way.
Using Oilbrushers, although enamels would work just as well, I put a few spots of sandy, light brown and other light colours on the top of the wagon sides. With a flat brush quite damp with thinners I then pull the paint down  leaving a dusty,  dirty streak effect. This tones down rust and leaves the wagon looking like the picture above.
Let dry and varnish.